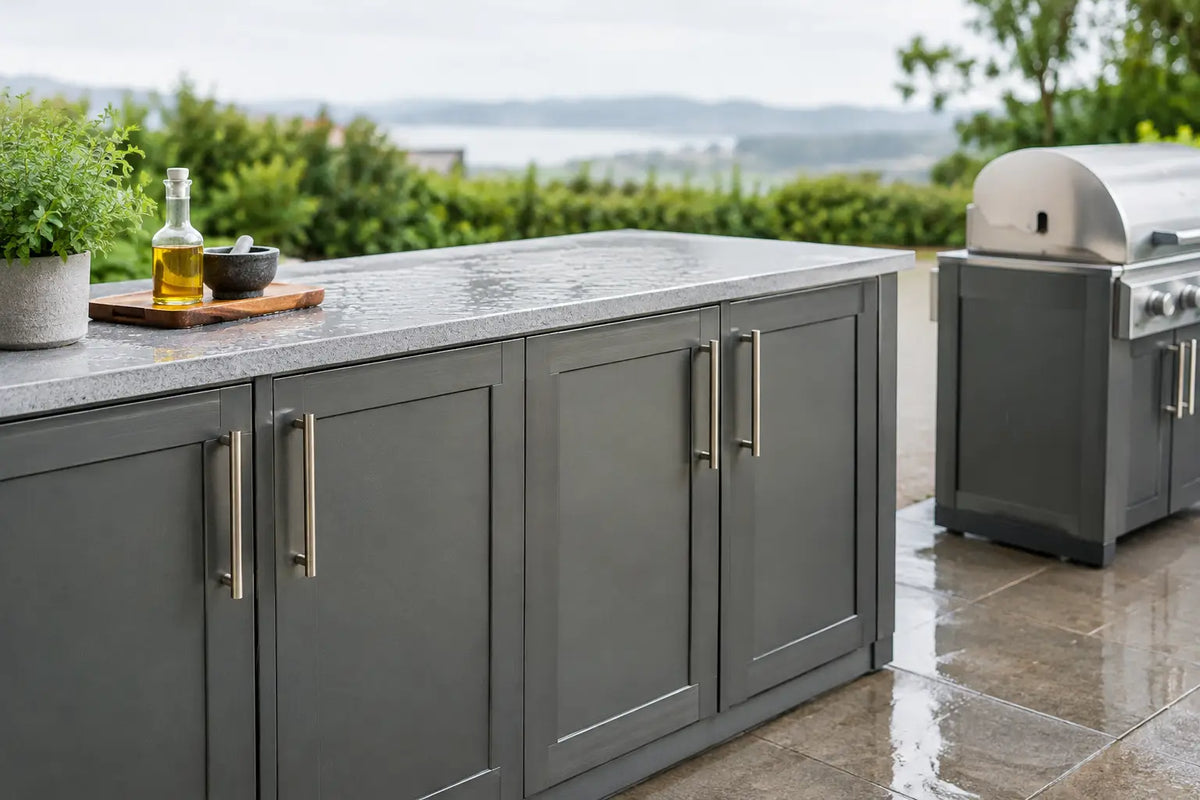
The first hard freeze does not announce itself with a calendar reminder. It arrives after a late dinner on the terrace, when moisture settles into drawer tracks, a cabinet door is left slightly open, and a beautiful outdoor kitchen is suddenly facing months of cold, rain, snow, and wind. Knowing how to winterize outdoor cabinetry protects more than a finish. It preserves the precise fit, effortless function, and considered appearance that make an outdoor kitchen worth investing in.
Premium cabinetry is engineered for exterior life, but weather resistance is not a reason to ignore seasonal care. Even high-performance materials benefit from a deliberate winter routine, especially in regions with freeze-thaw cycles, coastal air, heavy snowfall, or long periods of damp weather. The goal is simple: begin spring with cabinetry that looks composed, operates smoothly, and is ready to entertain without a restoration project.
Start With a Thorough Clean and Dry
Winterizing begins before covers go on and doors close. Remove everything from cabinets and drawers, including serving pieces, paper goods, spices, grill tools, and textiles. Food residue and organic debris attract pests, while damp fabrics can develop odors or mildew in enclosed storage.
Clean exterior panels, handles, countertops, and interior surfaces with a mild, non-abrasive cleaner appropriate for the cabinet material. Avoid abrasive pads, harsh solvents, chlorine-based products, and aggressive degreasers unless the manufacturer specifically approves them. These products can dull protective coatings, discolor powder-coated metal, or leave residue that becomes more difficult to remove after months of exposure.
Pay particular attention to corners, door seals, drawer slides, and the area around grills or sinks. Grease mist and airborne pollutants tend to gather there. Once clean, dry every surface completely with a soft cloth. Closing wet cabinetry for the season can trap moisture where it does the least visible but most persistent damage.
Inspect the Cabinet Structure Before Winter
A brief inspection now is far easier than diagnosing a frozen door or swollen panel in January. Open every cabinet and drawer. Check that hinges move freely, latches engage cleanly, and drawer slides do not bind. Tighten any loose hardware with the correct tool, taking care not to overtighten fasteners in aluminum, composite, or specialty panels.
Look for small issues that summer use may have concealed: a worn gasket, a misaligned door, chipped coating, loose leveling foot, or sealant that has separated around a countertop or appliance cutout. Minor repairs should be completed before prolonged wet weather begins. Water follows the smallest available path, and repeated freeze-thaw conditions can turn a modest gap into a larger service issue.
If cabinetry is installed on a deck, rooftop, or patio with uneven drainage, confirm that the modules remain level and elevated as designed. Standing water beneath a kitchen can create unnecessary stress on feet, frames, and surrounding surfaces. A luxury outdoor kitchen should look intentionally placed in every season, not improvised against the weather.
Treat Hardware as a Performance Detail
Handles, hinges, locks, and drawer runners are functional details, but they also determine how refined the kitchen feels when spring arrives. Wipe metal hardware dry and apply a manufacturer-approved light lubricant to moving components where needed. Do not use heavy grease, which can trap grit and thicken in low temperatures.
Stainless steel hardware deserves special attention in coastal locations. It is highly durable, not entirely maintenance-free. Rinsing away salt deposits and drying the surface before winter helps retain its clean, architectural appearance.
How to Winterize Outdoor Cabinetry Around Plumbing
Cabinetry itself may be ready for winter, but any plumbing within or beside it requires a more exact approach. Water left in supply lines, faucets, filters, ice makers, or sink traps can freeze, expand, and cause expensive damage that remains hidden until the system is recommissioned.
First, shut off the dedicated exterior water supply. Open the outdoor faucet to relieve pressure, then drain the lines according to the plumbing layout and local climate. In areas with sustained freezing temperatures, a professional blowout may be the right choice for complex outdoor kitchen plumbing. Drain the sink, disconnect and empty any removable hoses, and follow the appliance manufacturer’s procedure for winterizing beverage stations, refrigerators with water connections, or filtration systems.
Do not pour automotive antifreeze into drains or sink traps. If protection is needed, use only plumbing-safe, non-toxic RV antifreeze and follow local regulations and manufacturer guidance. This is one area where a short professional service visit can be a smart investment, particularly for hospitality properties or homes that will sit vacant during winter.
Protect Appliances Without Sealing In Moisture
Built-in grills, refrigerators, pizza ovens, and side burners should be winterized as individual systems, not treated as one covered mass. Disconnect fuel sources where appropriate, clean cooking surfaces, empty grease trays, and remove batteries from ignition systems or accessories if recommended by the manufacturer. For gas appliances, follow all shutdown instructions carefully and never store propane cylinders inside cabinetry or enclosed spaces.
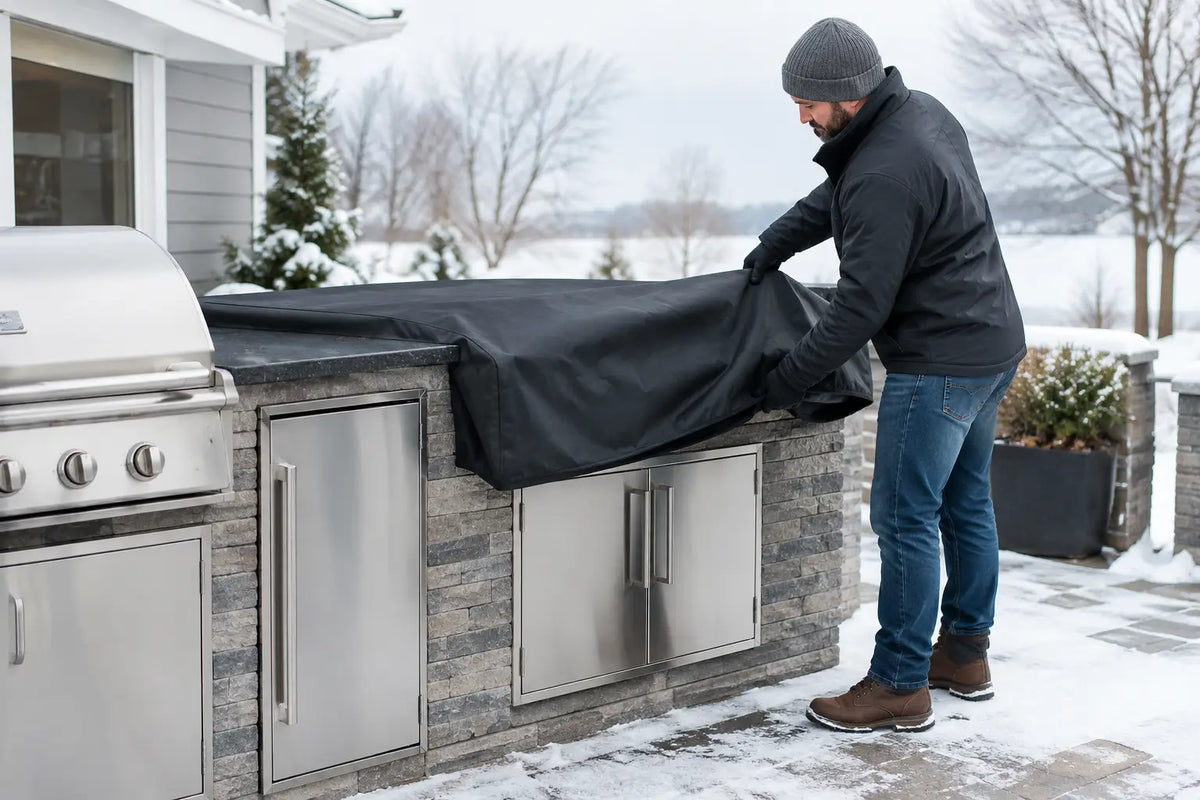
A quality fitted cover is valuable, but only when it is breathable, properly secured, and used on a clean, dry appliance. A cheap plastic sheet may keep out snow while trapping condensation against metal and finishes. That trade-off is rarely worth it. Choose covers designed for the appliance and climate, and inspect them occasionally after heavy weather.
If your outdoor kitchen includes electrical equipment, verify that outlets are protected by weather-rated covers and that appliances are disconnected when the manufacturer advises it. Never rely on cabinetry to shield unsafe electrical connections from moisture.
Cover the Kitchen Strategically
Not every outdoor kitchen needs to be wrapped from countertop to ground. In fact, fully enclosing cabinetry with non-breathable material can create a humid microclimate that encourages condensation. The right protection depends on the material, exposure, and local weather pattern.
Powder-coated aluminum, stainless steel, and purpose-built exterior composites generally tolerate winter exposure well when they are clean, dry, and correctly installed. Kitchens beneath a roof overhang may need little more than appliance covers and regular checks. A fully exposed coastal terrace or snow-heavy mountain patio may benefit from tailored, breathable covers that shed precipitation while allowing air to circulate.
Keep cover edges off standing water and make sure they cannot flap constantly against panels in high winds. Friction can mark finishes over time. If snow accumulates heavily, brush it away with a soft broom rather than using sharp tools that can scratch surfaces or damage covers.
Keep Cabinets Empty, Ventilated, and Pest-Resistant
Once cleaned, leave cabinetry largely empty for the season. This is not just about organization. Empty cabinets allow you to spot moisture, insects, or rodent activity quickly and prevent stored items from absorbing odors or humidity.
For cabinets that are protected but not fully exposed, a small moisture absorber can help in persistently damp climates. Do not block designed ventilation openings, and do not pack cabinets with blankets, cardboard, or plastic bags. Those materials hold moisture and offer pests a convenient nesting environment.
If your property is vacant through winter, arrange periodic visual checks after major storms. A two-minute inspection can reveal a shifted cover, pooled water, fallen branch, or open door before it becomes a larger concern. For resort, rental, and hospitality settings, make this a documented part of the seasonal property-maintenance schedule.
Avoid the Most Common Winterizing Mistakes
The most damaging mistakes are often well-intentioned. One is assuming that weather-resistant means maintenance-free. Another is applying a cover over a damp, greasy kitchen and leaving it untouched for five months. Both approaches allow moisture and contaminants to work against the finish.
It is also wise to avoid pressure washing directly into seams, hinges, vents, electrical components, or appliance controls. Pressure can force water past areas that are designed to shed rain, not withstand concentrated spray. Use a gentle rinse only when appropriate for the materials, then dry the kitchen thoroughly.
Finally, do not ignore drainage. Ice, leaves, and debris can obstruct channels around the kitchen and create repeated water exposure at the base of cabinetry. Clear the surrounding area before winter and after storms so water has a reliable path away from the installation.
Plan for an Easier Spring Opening
A well-winterized kitchen should not need a dramatic spring revival. When temperatures stabilize, remove covers on a dry day, inspect the cabinetry, wipe down surfaces, reconnect utilities according to manufacturer instructions, and test appliances one at a time. Check for smooth door alignment, clear drainage, and any signs of moisture before restocking the cabinets.
For homeowners who value an outdoor kitchen that performs as beautifully as it presents, seasonal care is part of ownership, not a chore. Systems designed with premium exterior materials and thoughtful details, including ELEEXA modular kitchens, make that care refreshingly straightforward. Protect the investment before the weather turns, and the first warm evening of spring can begin exactly as it should: with the kitchen ready and the terrace waiting.